The fence is cedar and replaces the chain link that used to separate us from our neighbors’ driveway. It is seriously neighbor-friendly in that it looks the same on both sides; no ugly stringers on either, and we put the boards’ best side toward the neighbors.
The fence gives us a number of quality-of-life enhancements. It eliminates the chain link, its solid overlapping board design provides privacy, it creates some visual drama with both its design and color, and it makes our side yard a part of the backyard and therefore much more accessible.
Here are a couple of before and after shots that show how the side yard looked, and how it looks now with the new fence.
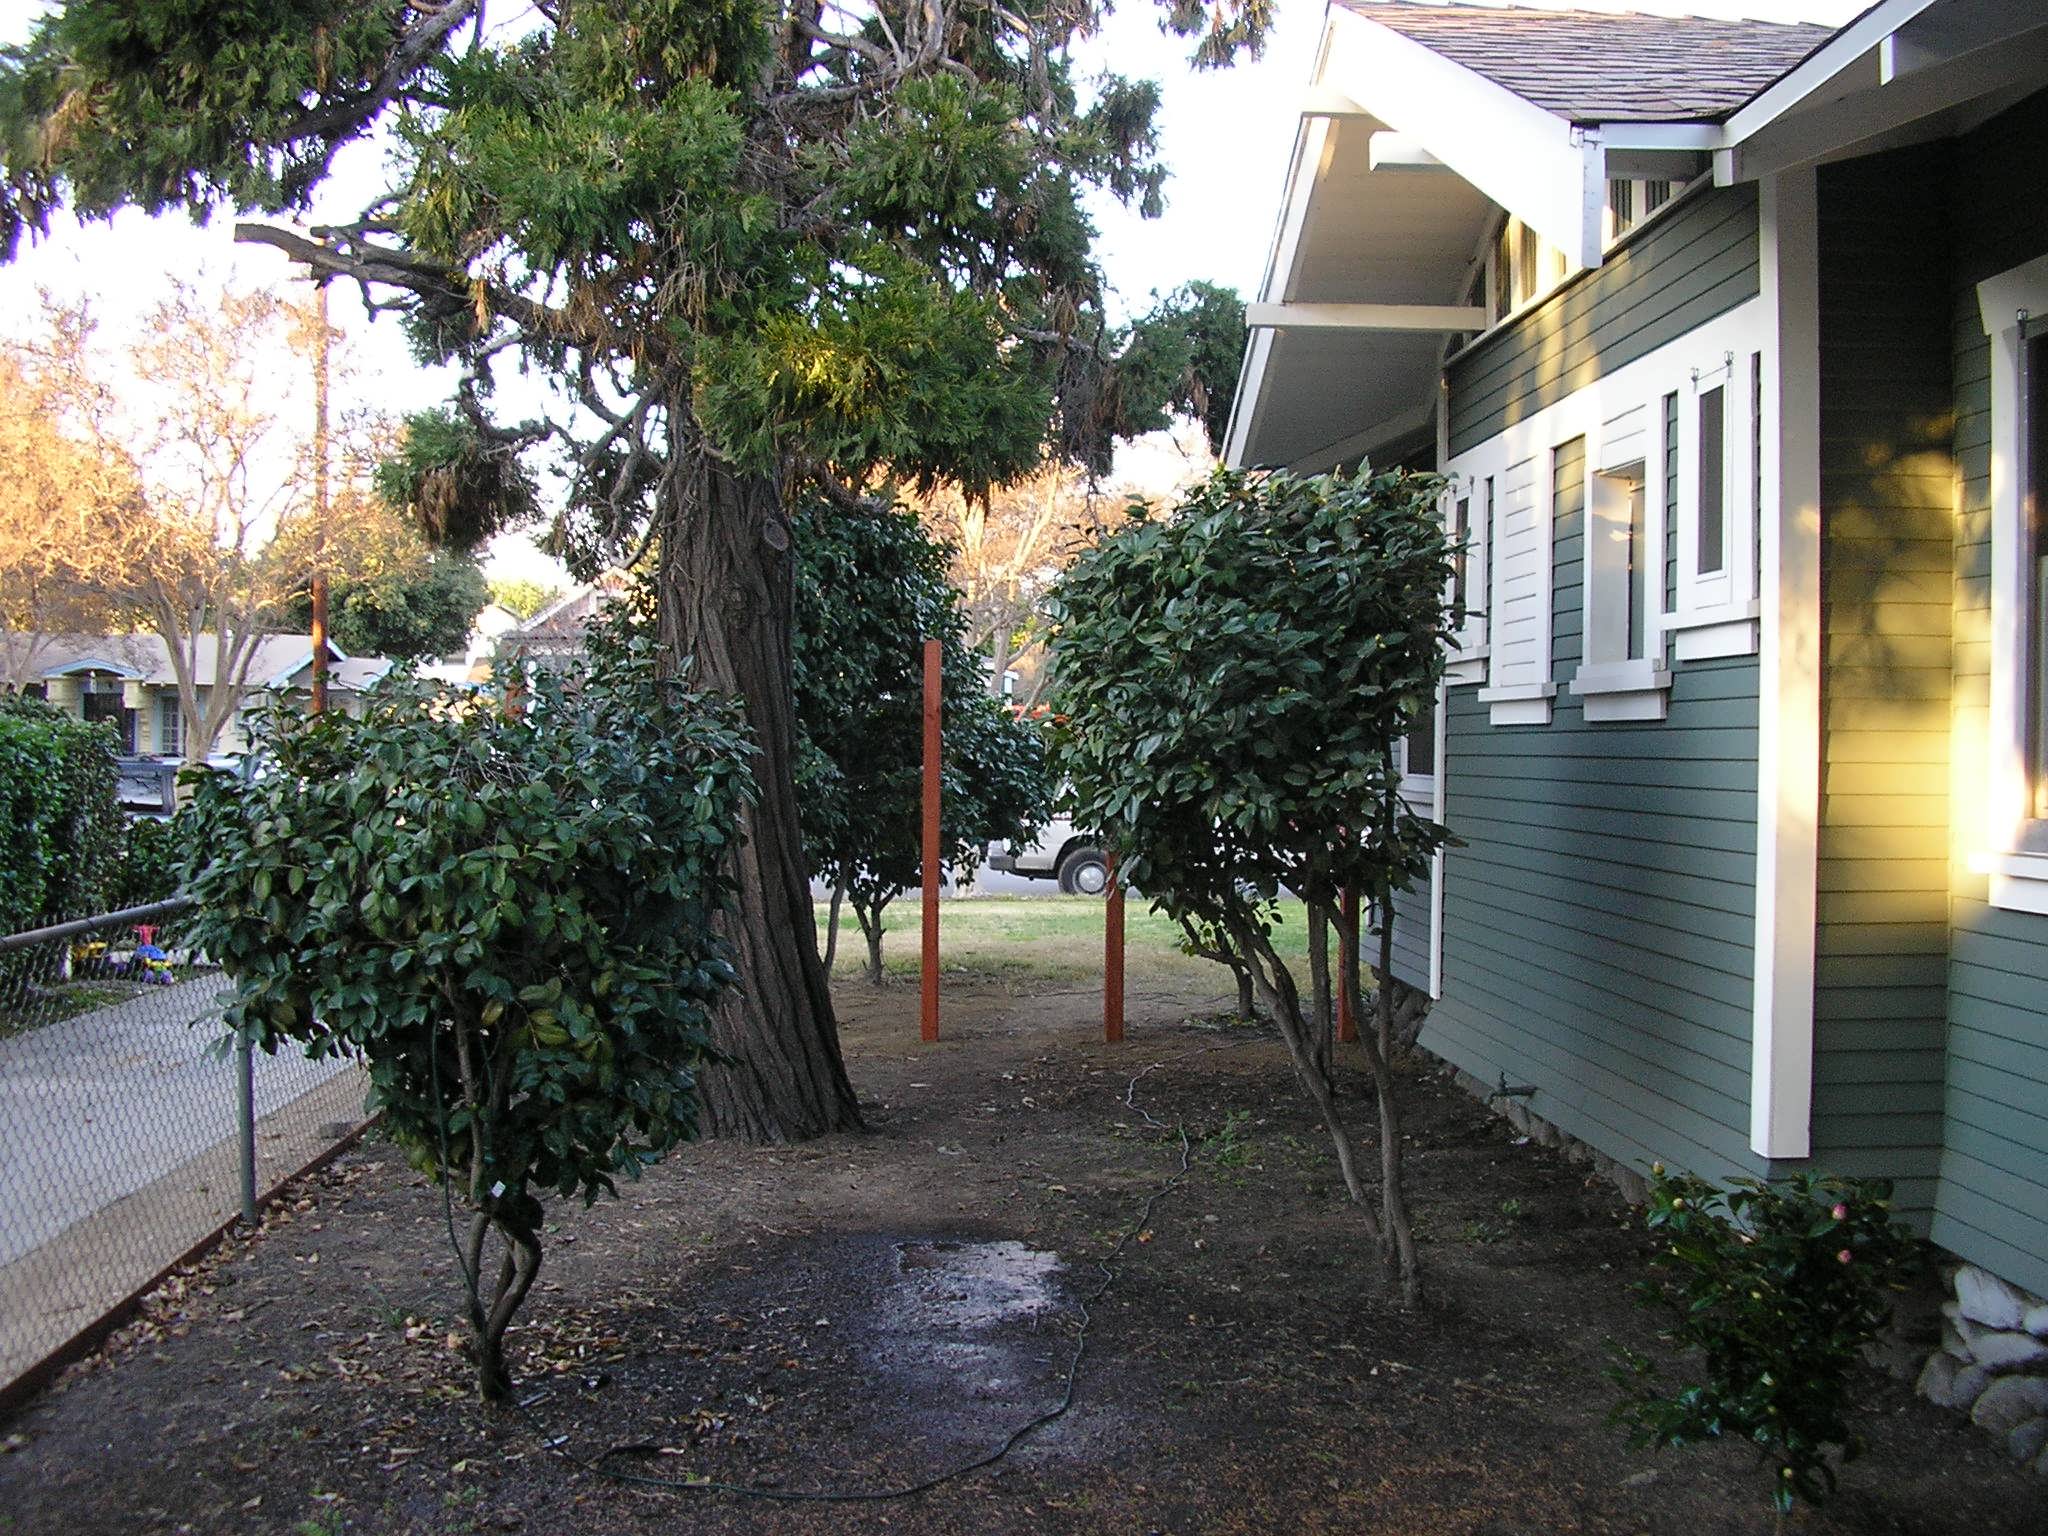
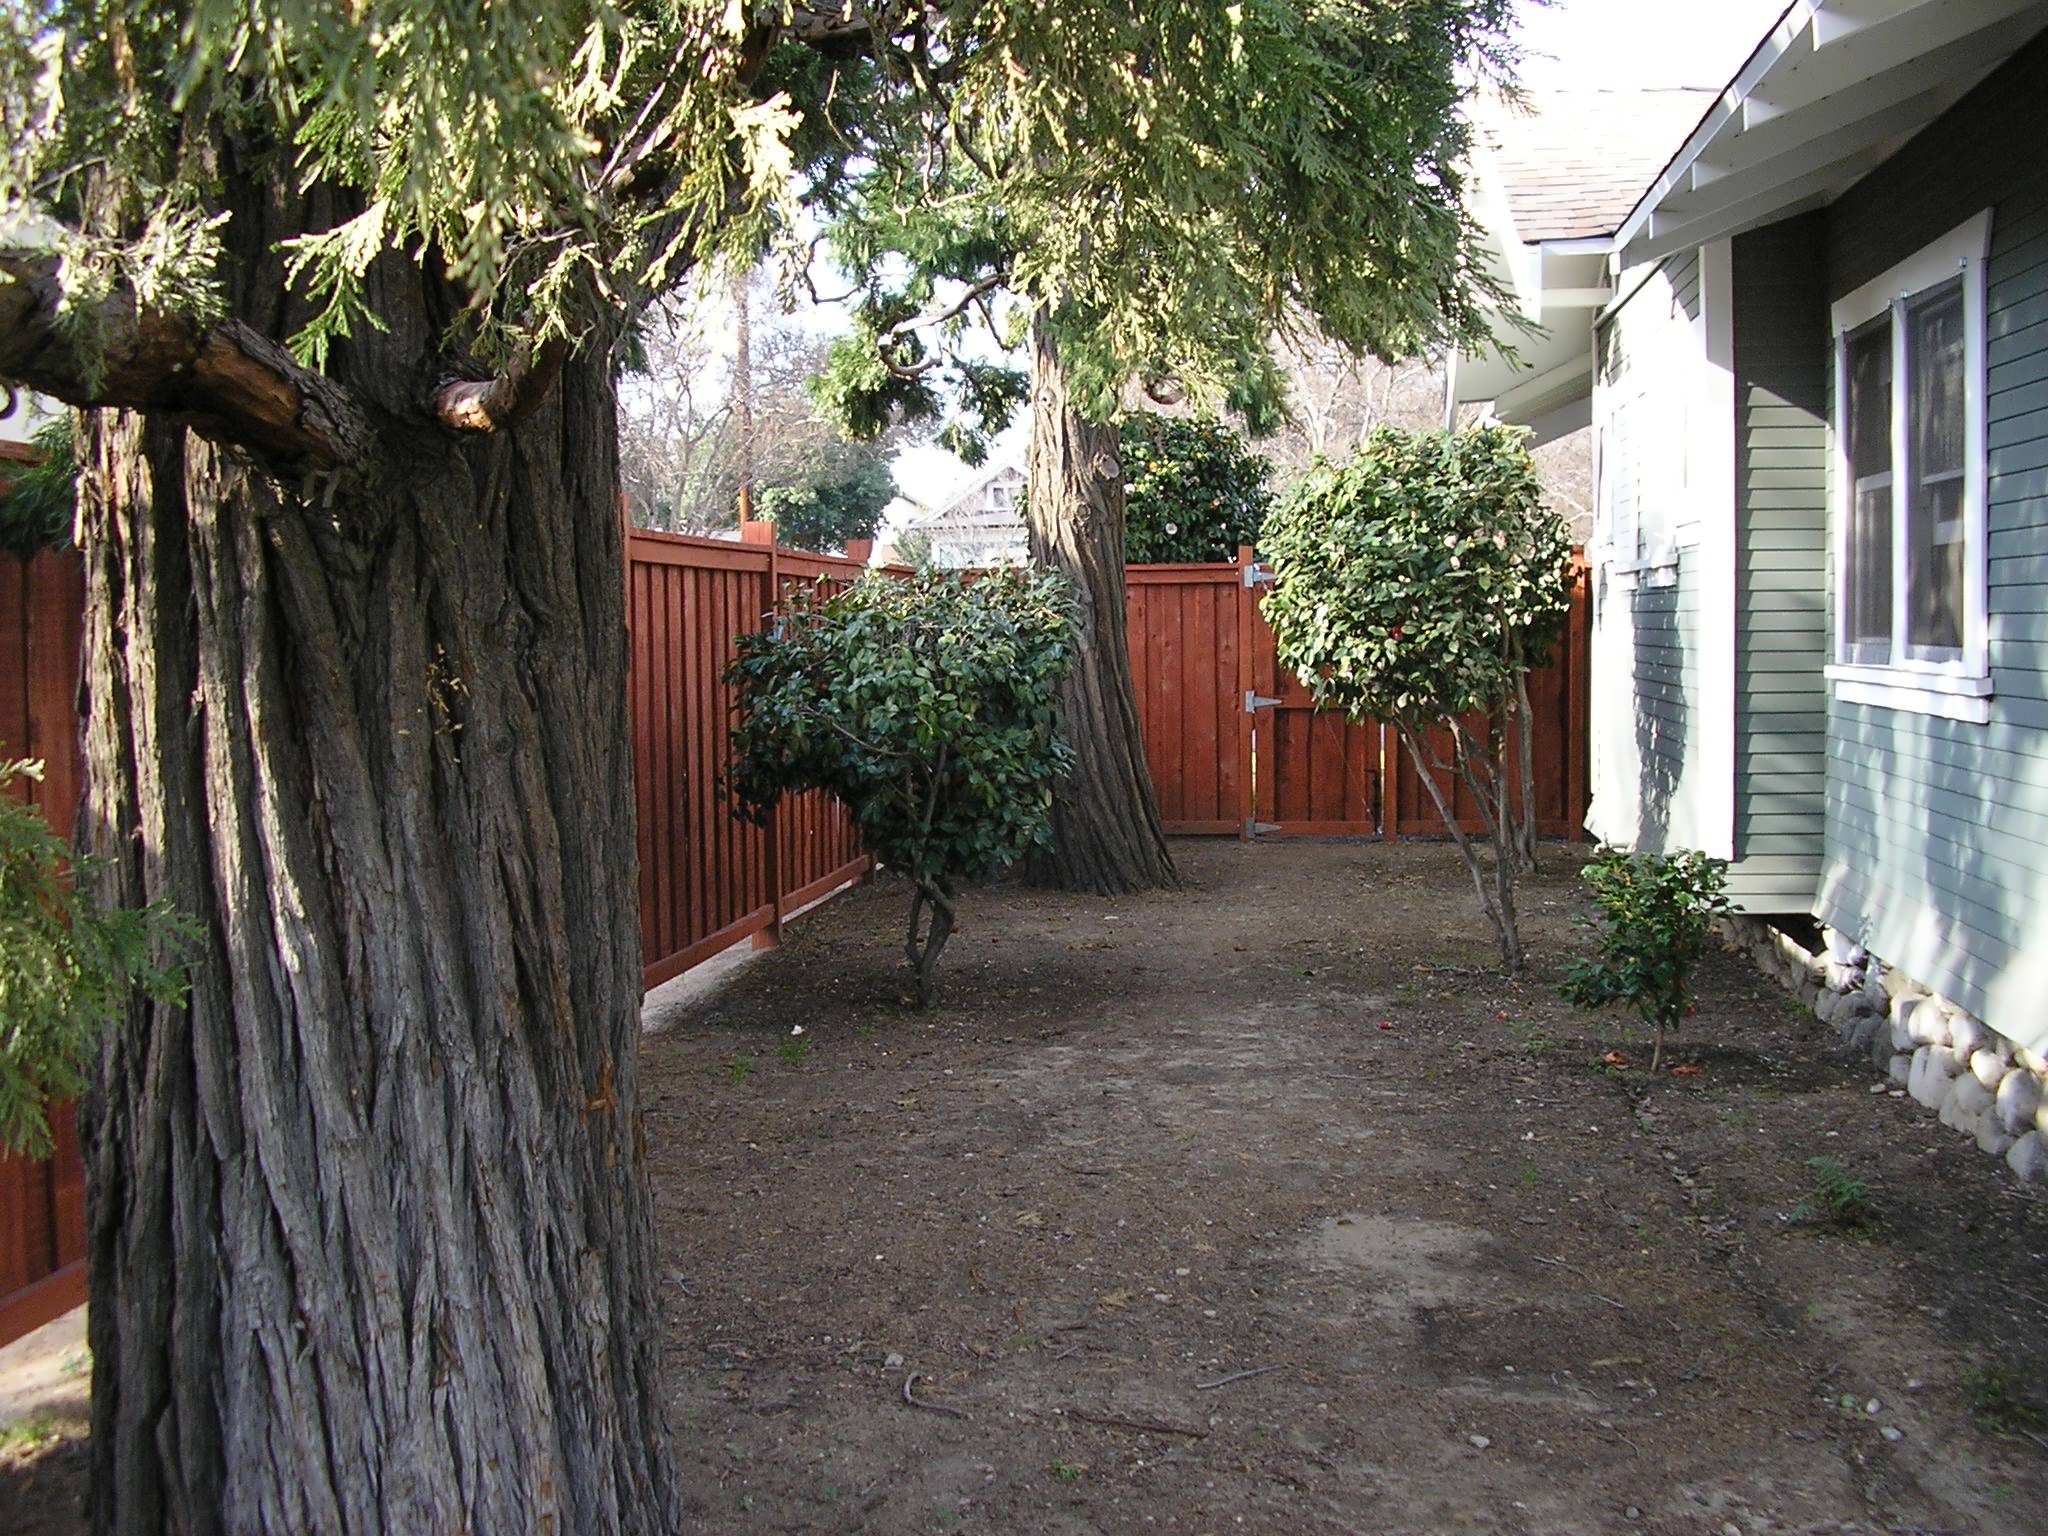
What follows are the steps in between.
–Front B Front A
Design
Instead of a plain fence made of dog-eared boards nailed to stringers, we wanted something more architecturally substantial. We picked a board-on-board design that is framed within the vertical posts. To create more “reveal” we chose 4” X 6” instead of 4” X 4” posts. We picked a decidedly red stain “Rosewood” that is close to redwood in color and compliments the greens and browns in the house color, bushes and trees that the fence adjoins.
Prep
The posts were purchased at Lowes so Carrie could climb into the racks and pick the posts she wanted. But since we needed nine posts and couldn’t get all of them into the CUV at one time, we made multiple trips. This meant we had to move the store’s undesirable posts out of our way more than once. The posts were 10 feet long and required five 60 pound bags of concrete each to fill the three foot deep holes they’d be set in. That is 2700 pounds of concrete mix. That too required multiple trips.
We went to Baker lumber and ordered 160 cedar fence boards to be delivered Friday afternoon.
Stain, brushes, nails, screws, brackets, shovel, pike, bolt cutters and 14 2X4s rounded out our initial supplies.
We were ready.
Construction
We started with the shortest section for a couple of reasons. It would be easier since it was a small span. If we decided it didn’t look like we expected, it would be less to tear out. But it was an important section as it would support one side of the gate and would determine the placement and alignment of the rest of the fence.
This photo shows the old chain link fence along with the new posts.
–posts
I got to dig. Dig dig dig. I like to dig. Each hole was 16” in diameter and three feet deep. I used our post-hole digging shovel and the new pike to break through roots. Carrie and I used masonry string, stakes, and 3-4-5 measurements to line up the holes and create the right angle corner. Carrie decided to make the corner appear to be cantilevered which added some stress to calculating the placement of the corner post. That post is 4X4 instead of 4X6 in order to fit inside the fence at the corner (thus giving it the floating cantilevered look). But all went flawlessly and we soon had holes. The posts were braced in place with scrap 2X4s that were attached to the posts with screws and clamped to stakes we drove in the ground. Great care was taken using a spirit level to make certain each post was perfectly vertical. Once the posts were braced, Carrie mixed the concrete (45 bags) one bag at a time while I watched. I shoveled the concrete into the holes so the neighbors wouldn’t think I was completely lazy.
–carriemix
The concrete was left to harden overnight. We then took off the braces and stained the posts. We also stained the 2X4s that would be the horizontal stringers and the first batch of fence boards. The metal brackets that would attach the 2X4s to the posts were primed and painted a deep brown.
–carriestain
More Prep
The old chain link and the posts that held it had to be removed to make way for the new fence. We added terminating stretcher rods where we would be cutting the chain link. Then we used the bolt cutters to cut the steel chain link and the tensioning cables. The now slack 45 feet of chain link was rolled up and queued up to go out with next week’s trash.
After a I dug a hole alongside the concrete footing of each old chain link post, Carrie and I were able to leverage each post free and lift it out of its hole.
More Construction
Position and attach the brackets.
Measure, cut and install the stringers.
Pre-nail the fence boards.
Position and nail one layer of boards 4” apart.
Then nail the second layer of boards, covering the 4” gaps.
Stain more boards.
Repeat.
Here we have the first layer of fence boards in place. It looks pretty good already, but we were not done yet.
–Backboards
Neighbors
Repeat until all the boards were in place. During this process, one neighbor commented on our use of oversize posts; that led to a conversation about the 300 pounds of concrete we had mixed and poured to hold each post. That led to his asking “Are you guys……” “Crazy?” Carrie finished his sentence. “Yes!” he and we agreed.
Another neighbor, another day. “Aren’t those boards upside down?” (We had installed the fence boards with the dog-ears down.) “Yes, but the dog-ears won’t show when the trim boards are added” we explained. “If you put the dog-ears up, the notches will catch debris.”
Gate
We hope we have over-engineered the gate. Carrie and I both hate saggy gates. The gate is 3’ by 6’ and its frame has a 2X6 along the hinge side with 2X4s making up the remaining vertical and the three horizontal members. All are held together with a total of 16 pocket screws and cable cross-braced. The gate is secured to the 4X6 post with three industrial strength hinges.
Milestone
One major improvement the new fence achieves is making the side yard part of the back yard. Once complete, the new fence allows us to tear down an old fence that separates the back and side yards. As soon as the gate was closed in, we were able to remove the old fence and join the side and back yards. It felt a bit like a ribbon cutting ceremony when we pulled the old fence down.
Final
This is the finished product.
–final
Here are the before and after pictures of the view into the backyard.
–south B south A
And here is how the new fence has changed the look of the space when viewed from the backyard.
–North B north A
Almost
The 2X6 cap boards then the top and bottom trim boards were then stained, cut, and nailed in place. Finally all of the posts were cut so their heights were identical.
Done
How cool is this?
We are discussing how to cap the posts. Any suggestions?
